
How to Install Popular Truck Accessories in NZ
Understanding NZ’s Truck Accessory Landscape
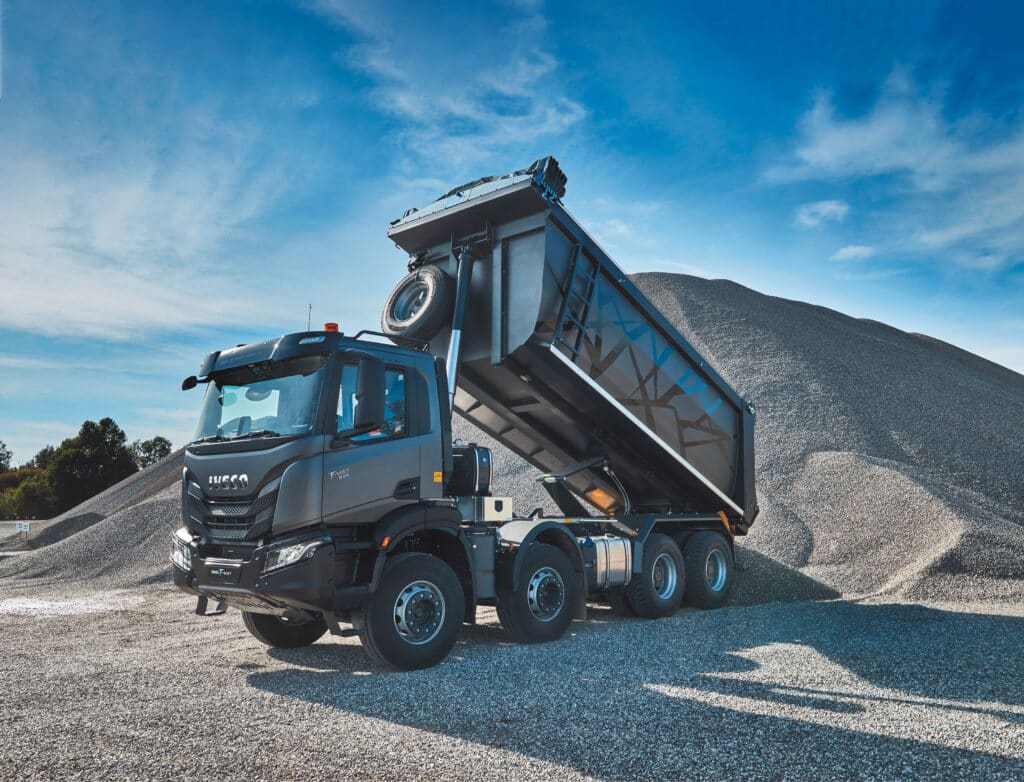
New Zealand’s truck scene is diverse, with utility vehicles playing a vital role in both urban and rural environments. From tradespeople navigating Auckland’s busy streets to farmers in Otago dealing with rugged off-road terrain, Kiwis rely heavily on well-accessorised trucks. Popular accessories include canopies, bull bars, tow bars, roof racks, and LED light bars—each serving a practical function suited to the unique driving conditions found across the country.
Before diving into installations, it’s important to consider your vehicle’s make and model, intended use, and the legal requirements specific to NZ. Not all accessories are created equal, and selecting options that are compliant, weather-resistant, and durable is essential for safety and longevity. Understanding how each accessory complements your truck’s utility will help you make informed choices.
Preparing for Installation: Tools and Safety Tips
Installing truck accessories can be straightforward, provided you’re prepared. Essential tools typically include socket and spanner sets, screwdrivers, measuring tape, torque wrenches, and occasionally power drills. Accessories that involve electrical components, such as light bars or winches, may also require wiring kits and voltage testers.
Safety should be a top priority. Always work on a level surface and use wheel chocks to prevent rolling. If lifting the truck is necessary, ensure it is supported with jack stands rated for your vehicle’s weight. Wear protective gloves and safety goggles to avoid injury from sharp edges, metal shards, or chemicals like sealants and grease. While many truck owners prefer a DIY approach, consider hiring a professional if the installation is complex or involves significant vehicle modification.
Installing Canopies and Ute Lids
Choosing the Right Canopy or Lid for Your Truck
Ute canopies and lids are popular in NZ for their ability to secure cargo and protect it from the elements. When choosing one, look for compatibility with your specific truck model, and consider materials like fibreglass or aluminium. Fibreglass is known for its sleek finish and insulation, while aluminium offers superior durability for tough work conditions. Look for models with locking mechanisms, gas struts, and optional features like roof rails.
Step-by-Step Canopy Installation Process
Begin by cleaning the bed rail area where the canopy or lid will sit. Use a foam seal or rubber gasket to prevent water ingress. Position the canopy carefully with the help of another person. Once aligned, clamp it to the bed rails or use bolts if your model requires drilling.
Check for even spacing on all sides and ensure the rear door aligns correctly. Finally, test the locks and struts to ensure proper function and apply sealant where needed to weatherproof the installation.
Fitting Bull Bars and Nudge Bars
Legal Requirements for Bull Bars in NZ
Bull bars are widely used in NZ, particularly in rural and off-road settings. However, they must comply with New Zealand Transport Agency (NZTA) regulations. This includes ensuring the bull bar does not obstruct lights, indicators, or number plates and that it is designed to minimise pedestrian injury in the event of a collision.
DIY Installation Guide for Bull Bars
Start by removing the front bumper if required. Next, position the mounting brackets provided with the bull bar kit, ensuring they align with the chassis. Secure them with high-tensile bolts, tightening to the manufacturer’s recommended torque settings.
Once the frame is in place, lift the bull bar onto the brackets and bolt it in. Finish by checking for level alignment and ensuring the bull bar is firmly attached. If your model includes integrated lights, proceed with the electrical wiring as instructed.
Mounting Roof Racks and Trays
Selecting the Right Rack for Your Vehicle
Roof racks increase your truck’s carrying capacity and are ideal for tradies and adventure seekers alike. When selecting a rack, consider the weight you intend to carry and whether you’ll be mounting rooftop tents, ladders, or kayaks. Alloy racks are lightweight yet strong, while steel racks are more robust but heavier. Choose models that fit your cab type—single, extra, or double—and consider aerodynamic designs to reduce drag.
How to Install Roof Racks Securely
Begin by identifying your truck’s factory mounting points or roof rails. Use a tape measure to space the racks evenly, ensuring symmetrical placement. Secure the base feet or brackets using bolts or clamps, applying thread-lock if recommended. Attach the crossbars and tighten all fasteners. Give the racks a firm shake to check for movement. If necessary, use rubber pads to prevent scratching and reduce vibration noise during travel.
Adding Tow Bars and Winches
Towing Regulations and Guidelines in NZ
Towing in NZ is regulated by strict weight and safety standards. Your truck’s towing capacity must match the gross trailer weight, and safety chains, brake lights, and correct coupling devices are mandatory. Vehicles towing over 2,000 kg must have trailer brakes installed.
Installation Techniques for Tow Bars and Winches
Tow bar installation involves securing a heavy-duty crossmember to the rear chassis. Begin by cleaning the mounting area and aligning the tow bar’s brackets with factory holes. Use high-tensile bolts and torque to specification.
Electrical wiring for trailer lights can be routed using pre-existing conduits; ensure all connections are weatherproofed with shrink tubing or sealant. For winches, mount the winch plate to the front bar or chassis, secure the winch body, and wire it to a fused power supply, ideally with a cutoff switch.
Installing LED Light Bars and Work Lights
Popular Light Bar Options for NZ Truck Owners
LED lighting is essential for rural driving and off-road adventures in NZ. Light bars range from spot beams for long-distance vision to flood beams for broader coverage. Look for options with high IP ratings to withstand rain and dust, and ensure they meet Warrant of Fitness (WoF) requirements.
Proper Installation for Lighting Accessories
Mount the light bar on a roof rack, bull bar, or dedicated bracket. Route the wiring harness carefully to avoid moving parts or heat sources. Connect the power lead to a switch inside the cab, then to the battery using an inline fuse. Secure all connections with waterproof couplings. Check beam alignment to ensure it doesn’t dazzle oncoming drivers, as NZ regulations require light bars to be correctly aimed and switched independently from high beams.
Tips for Post-Installation Maintenance
Once your accessories are installed, routine maintenance will keep them in optimal condition. Inspect mounting bolts regularly for tightness, especially after off-road driving. Lubricate moving parts like canopy struts and tow bar hinges.
Check electrical components for signs of fraying or corrosion, and clean light bars and racks to prevent dirt build-up. Applying a UV protectant to plastic and rubber parts can also prolong lifespan in NZ’s intense sun.
Wrapping Up: Making the Most of Your Truck Accessories in NZ
Installing truck accessories not only enhances your vehicle’s utility but also contributes to safety, comfort, and aesthetics. Whether you’re preparing for worksite efficiency or weekend adventures, choosing the right gear and installing it properly can make a significant difference. With the right tools and a bit of know-how, many popular accessories can be fitted at home.
For complex upgrades or to ensure full compliance with NZ regulations, professional help is always a wise option. Join local 4×4 or truck owner groups to share experiences, get installation advice, and stay updated on the latest gear trends across Aotearoa.


